Account records must be created here and be categorized into the three categories mentioned in paragraph one, that is, as either a trading account, a profit and loss account or a balance sheet account. A combined list showing all accounts, irrespective of their category, of these accounts, will be displayed, here, once created. Accounts can be edited or deleted from the Add Accounts page.
To Add an Account:
To add an account, click on the blue "Add Account" button on the top left hand side of the manage accounts list. This is seen in Image 1, directly below this paragraph. 
Image 1
Once clicking on the '+ Add Account' button, the 'Add Account' pop-up page will appear, as seen below in Image 2. The Add Account page, is where the details of the account being created will be inputted.  Image 2
Once there, begin filling the required information. First to be filled is the account ID box. In the Account ID box, imput the numerical identification value assigned to, (of the), the account used within your company. For instance, if an account ID is assigned an identification of 48421 within your company, that number identification would be imputed here for the Account ID information.
The account name is the name of the account as designated, or used, with your company. For instance your company may intra-company manage a Banco Popular Ltd. account. When establishing this account within the VIHRMS system use the Banco Popular Ltd. account to fill the Account Name box.
Thirdly, filling the group name is optional, but the choices, or options, for doing so will be displayed in the drop down box adjacent to the Group Name phrase. To choose a group name, click on the down arrow in the left area of the drop box, and group name options will appear.
Once all required and/or optional information boxes have been filled click on the blue 'Save' button to the buttom of the boxes to save and create the account entry just made.
The entry will immediately appear listed in the Manage Accounts page table list. It can be edited or deleted, from there, from that page.
To Edit an Account:
To edit an account that has been created, do the following. On the Manage Account Page list, locate the account, in the table, to be edited. Once within the line of the table displaying the account, the line will become highlighted. Follow the line to the right end of the table to locate the edit button, appropriate for that account entry. Click on the edit button to open the Add Account page from where the account can be edited. As when creating the account, when the intended changes have been made to the account record, click on the blue, 'Save' button to the button of the fill boxes to save the changes made.
To Delete an Account:
To delete an account, follow the similar procedure to editing an account, by first locating the account to be deleted on the table in the Manage Accounts page list. Once doing so, scroll across to the right end of the page to the delete button to the red delete button that is within the same line of the table as the account to be deleted. On clicking on the delete button, the following message will appear: 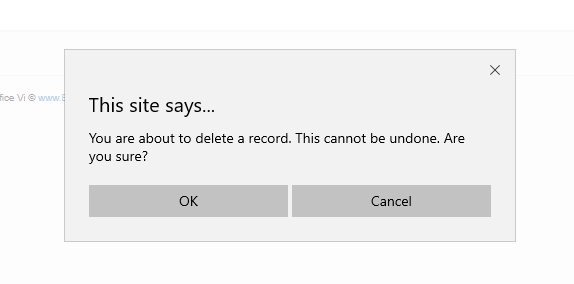
If you would like to continue to delete the record of the account, click on 'OK' and the record will be permanently deleted. If you decide to not delete the account, click on 'Cancel' to cancel the deletion of it and maintain it as a account record within the system; clicking on cancel will revert the page to the Manage Account page list. To click out of the message, alternately, click the 'x' in the upper right corner of the message to cancel the message also, and revert the page to the Manage Accounts page.
Continue the process of adding accounts until all accounts used within your company have been added.