Connection IP
The connection IP function displays a list of IP addresses relative to the addresses of the devices used in the ViHRMS company account. For instance, if three devices in your company are used to access your account, the IP address for each device can be added on this page to facilitate transfer of information between those key devices.
The Enable IP Matching choice option, can allow access from specific devices alone to the company account. To enable this function the "Enable IP Matching" must be switched to the Yes option. IP Matching groups the IP addresses. Enabling this function can also allow for remote use of the computer by dedicated personnel.
These functions would require having a fixed IP address, those of which would be listed in the List of IP addresses on the page. To ensure that the IP is fixed, the address must be changed to manual in each devices' settings.
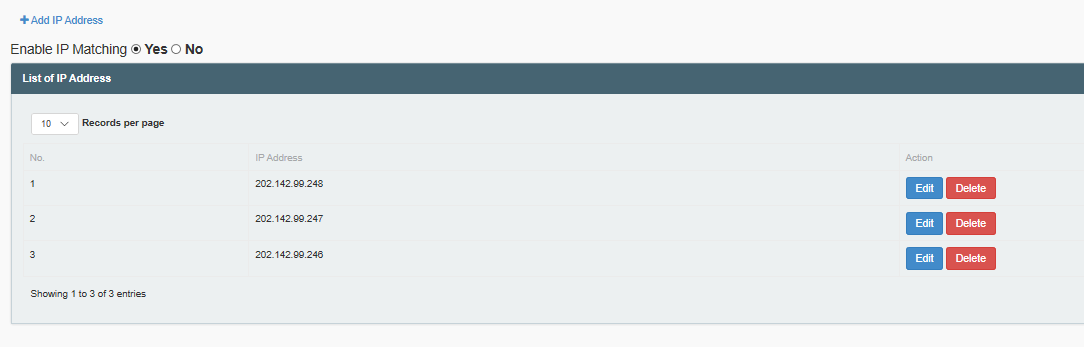
Image 1
To disable IP Matching, change the 'Enable IP Matching' option, to No. Doing so will disallow the functions of Enabled IP Matching. In the event that the IP address of any device changes the new IP address will have to be added in the List of IP Addresses, here, following the procedure to Add an IP Address.
Alternately, an IP Address that has changed can be modified in the company account by clicking on the blue 'Edit' related to the relevant IP entry. Once doing so, the Add IP insert will appear as shown here:
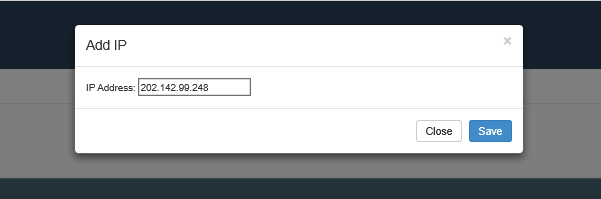
Image 2
Once it appears, the IP Address can be modified by clicking on the IP Address box. This will allow numbers to be deleted and added. Back space, or position the cursor to the left of a number and press the delete button on the keyboard, to delete a number. Type a number in in its' appropriate place to add the number. Once the address has been correctly modified, click on the 'Save' button to save the changes made to the IP Address. This action will change the configuration of the IP Address altogether, and the prior ID address number will be lost. If you do not wish to loose the initial IP Address number, it is essential to Add a new IP Address using the Add IP address procedure.
Clicking on the 'Close' button as oppose to 'Save' will close the Add IP insert and leave the IP address, in question, unchanged.
It is also possible to delete an IP Address, if needed. To delete an address, first locate the address in the list of IP Addresses, followed by locating the red 'Delete' button to the far right of that specific IP Address entry. This can be seen to the far right of Image 1 above. Click on the located Delete button to delete the specific IP entry. The following message will appear:
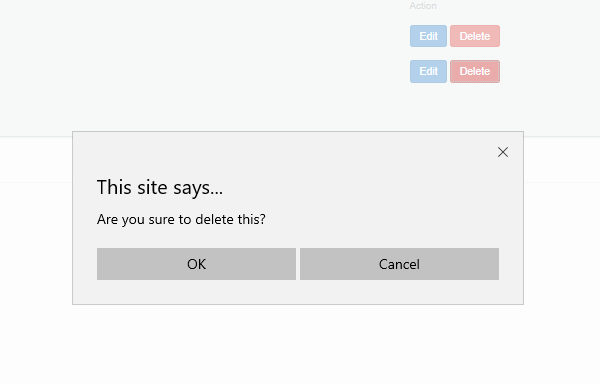
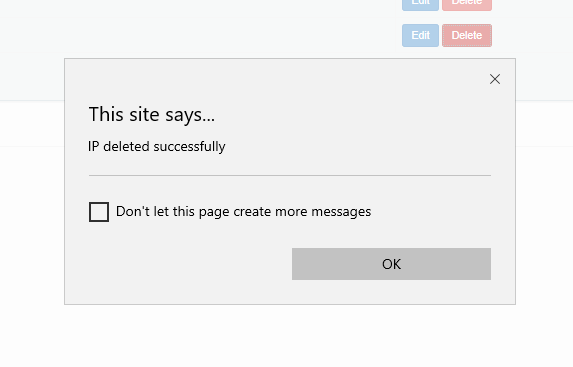
To complete the deletion click, 'OK'. However, if the deletion was initiated in error or the IP would again like to be kept, click on the 'Cancel' button to end the process of deleting the IP in question. Clicking on 'OK' will generate the following message indicating the complete deletion of the intended IP. To return to the list of IP addresses, click on 'OK' and the screen will revert.
Continue, or repeat all of these described processes to complete the functions of this page.