
Image 1
The Company Administrator is able to maintain a personal calendar. Once created, the personal, or company event, and it's details, will appear in list form, as shown in image 1 above. This is completed by adding an event using the blue "Add Personal Event" button, located to the top left area above the Event List on the Personal Event Page or also on the Add Personal event page.
ADD AN EVENT:
To add an event, go to the blue "+ Add Personal Event" button to the top left of the Event List; fill in the Event Name, Starting Date and End Date of the pop-up page topper that will appear. This is seen in Image 2. Click save as image 2 displays below. The event will then appear on the "Event List" depicted above.
Once created, the event can be edited. To edit a specific event, first locate the event on the Event List using it's Event name, Event SL number, or Event Date, and go across to the blue Edit button at the right end of the same line of the event as being edited. Once located, click on the blue Edit button for the entry to open, allowing for changes to be made to it's content. Proceed to make the needed changes to either the Event name, Event Start Date or Event Date name. Image 2 displays what the Add Event page will look like when the +Add Personal Event button is click on.
once the + Add Personal Event button has been clicked on, and the Event List page has been opened, fill in the Event details in the provided information boxes. The Event Name, Start Date and End Date, data fields. Once the event name, Start Date and End date have been entered for an entry click on the blue Save button, beneath the left area of the data fields.
Continue to add personal events via using the "Add Personal Event" button via the process descried directly above, until all desired Event entries have been created.
_
Furthermore, the entered event can also be deleted. To delete an event, follow a similar procedure described as for edited an entry; Once the event is located, also locate the red Delete button that is in the same line of the table as the event. Click on that delete button and the site will ask for confirmation to proceed with the deletion, as the following, of image 3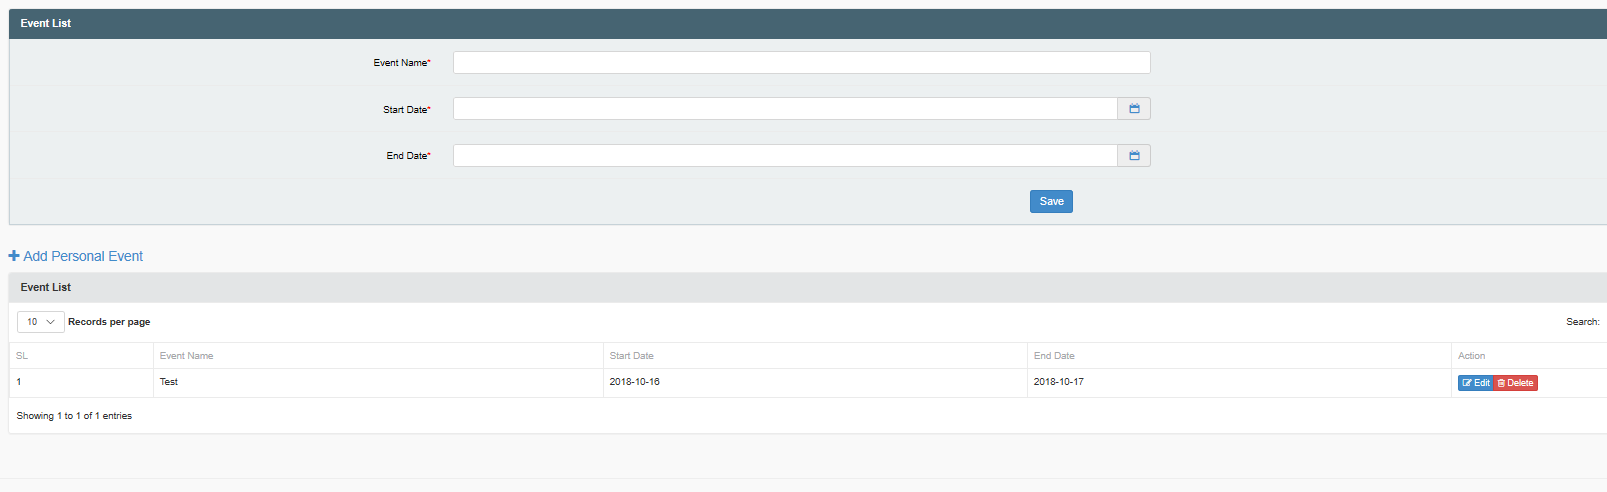
Image 2 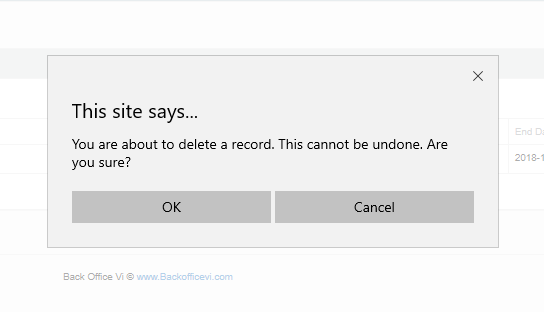
Image 3
To continue and delete the record, click on the grey OK button. But to cancel the deletion of the record click the adjacent grey Cancel button, and the deletion of the record will be cancelled. Once cancelled the record cannot be restored and must be recreated if the entry was a needed entry. The deletion of the event can also be cancelled by clicking on the grey X in the upper right corner of the pop-up message.