Accounting- Quickbook Classes
This page allows for the adding of, and maintenance, of QuickBook classes. As many classes as exist will open. It will look like the following:
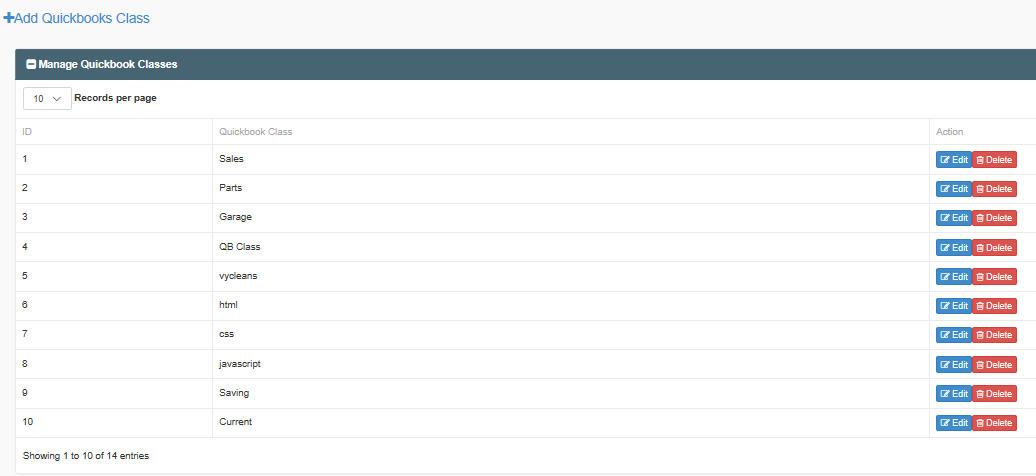
Image 1'+Add QuickBooks Class' blue button in the top left corner of the page. Once doing so, the 'Add QuickBook Class' page will open. It will look like the following:

Image 2
In the open fill box adjacent to the Quickbooks Class Name phrase, add the name or title of the Quickbook class used in your company or offered by Quickbooks themselves. Once the title is added, click on the blue 'Save' button to create the record of the class in the VIHMRS account.
If an incorrect title was entered, make the correction by clicking on the blue 'Edit' button that is in line with the QuickBook class in question, and the 'Add Quickbook Class' page will appear, as depicted in Image 2. When it does, click on the name to be edited and make the appropriate corrections to the name. Once all corrections have been made click the blue 'Save' button to save the changes made and return to the Manage QuickBook Classes List. All quickbooks class name changes can be edited in this way.
Alternately, if a QuickBooks class is no longer operative within your company and you would like to delete the record of the class, it can also be done here. To do so, proceed to locate the class to be deleted and the red 'Delete' button, in line with it, that corresponds to the class. Click on the specific Delete button and the site will ask you to confirm the deletion of the record, as shown in Image 3 below:
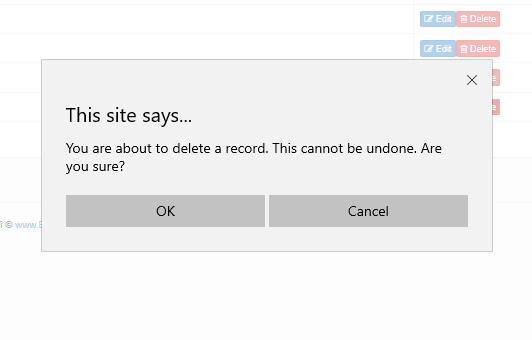
Click 'OK' to fully delete the record and 'Cancel' to maintain the record